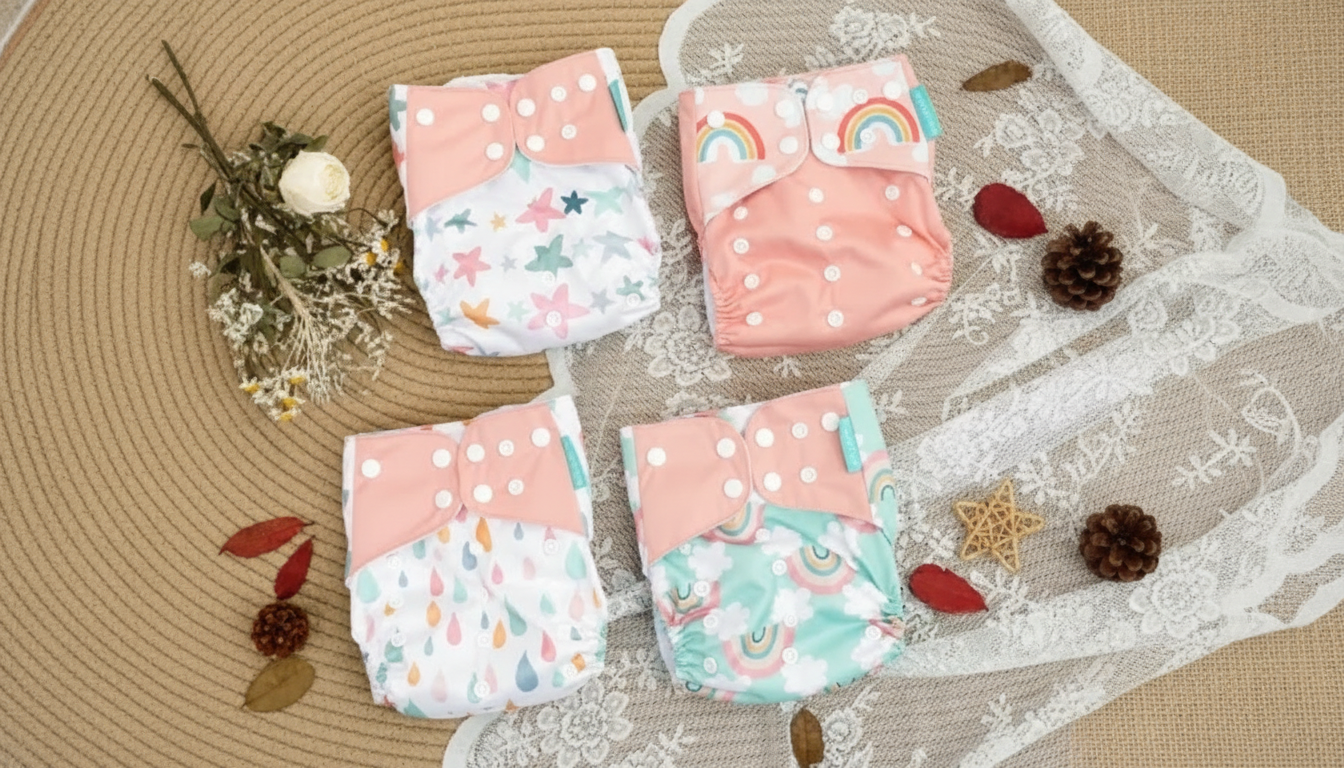
Rise snaps are the rows of snaps on the front of a one-size cloth diaper that change the diaper’s height from waist to crotch. For a newborn, you typically want a shorter rise so the diaper sits low and snug without bunching; for a toddler, you’ll open the rise to give more length and coverage.
Start by laying the diaper flat and snapping the lowest row(s) of rise snaps upward to the top row, creating a smaller “panel” in front. Most babies need two rows snapped down (a tight fold) in the earliest weeks, then one row as they grow. After snapping, hold the diaper up and check that the leg openings look small enough to hug the thighs without creating gaps.
Before fastening at the waist, make sure the back edge sits at the baby’s natural waist and the front edge doesn’t ride up toward the belly button. If the diaper feels bulky in front, try a looser rise setting (fewer snapped rows) while keeping the waist snug.
For toddlers, unsnap the rise snaps completely so the diaper reaches full length. If you still need a slightly shorter setting (common during in-between stages), use only one row of rise snaps instead of two. Then close the waist snaps so the diaper is secure but not tight, and check that the crotch sits in the underwear line rather than drooping.
After adjusting the rise, run a finger around each leg to confirm the elastic is against the skin with no large gaps. The diaper should sit smoothly from front to back, with the absorbent insert placed fully inside the leg channels and not sticking out.
For more step-by-step detail and fit troubleshooting, visit the main guide on adjusting rise snaps for newborn vs toddler sizes.
If the diaper feels overly tight front-to-back, the crotch is pulled forward, or you see red marks high on the thighs, the rise is likely too small. Try opening one set of rise snaps and recheck the leg seal.













Leave a comment